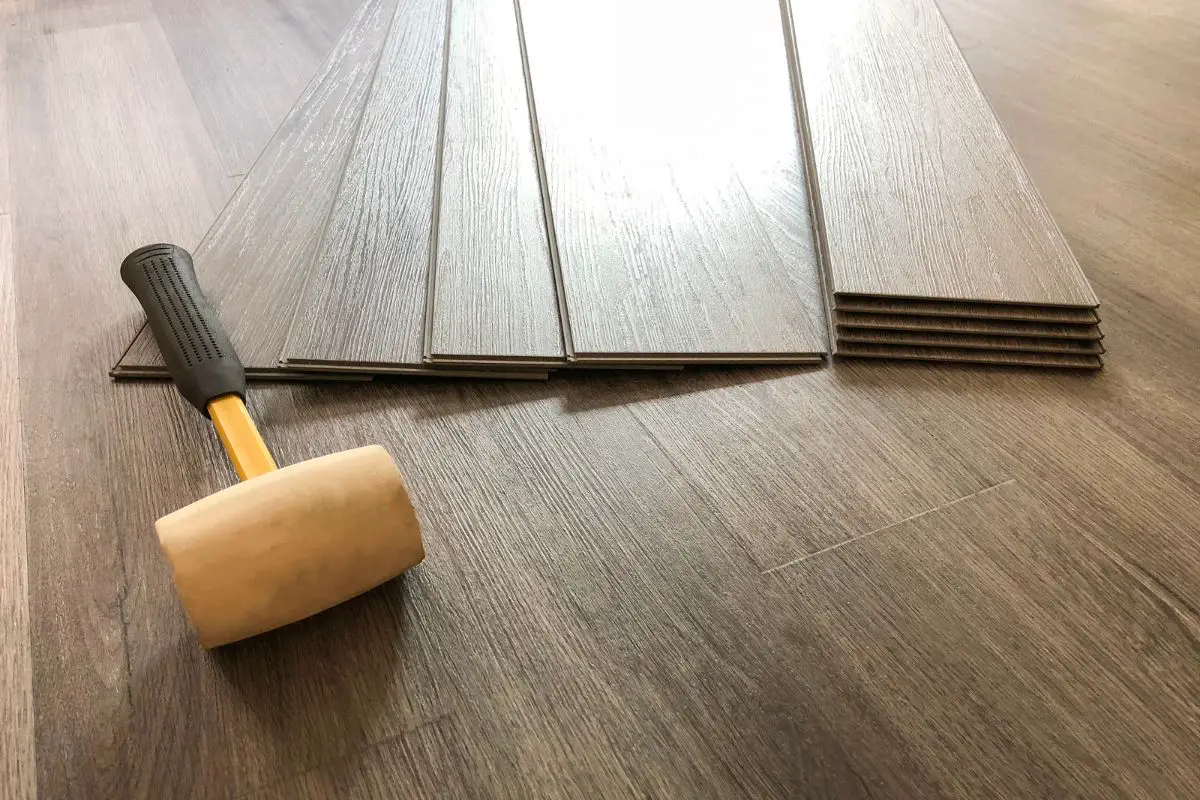
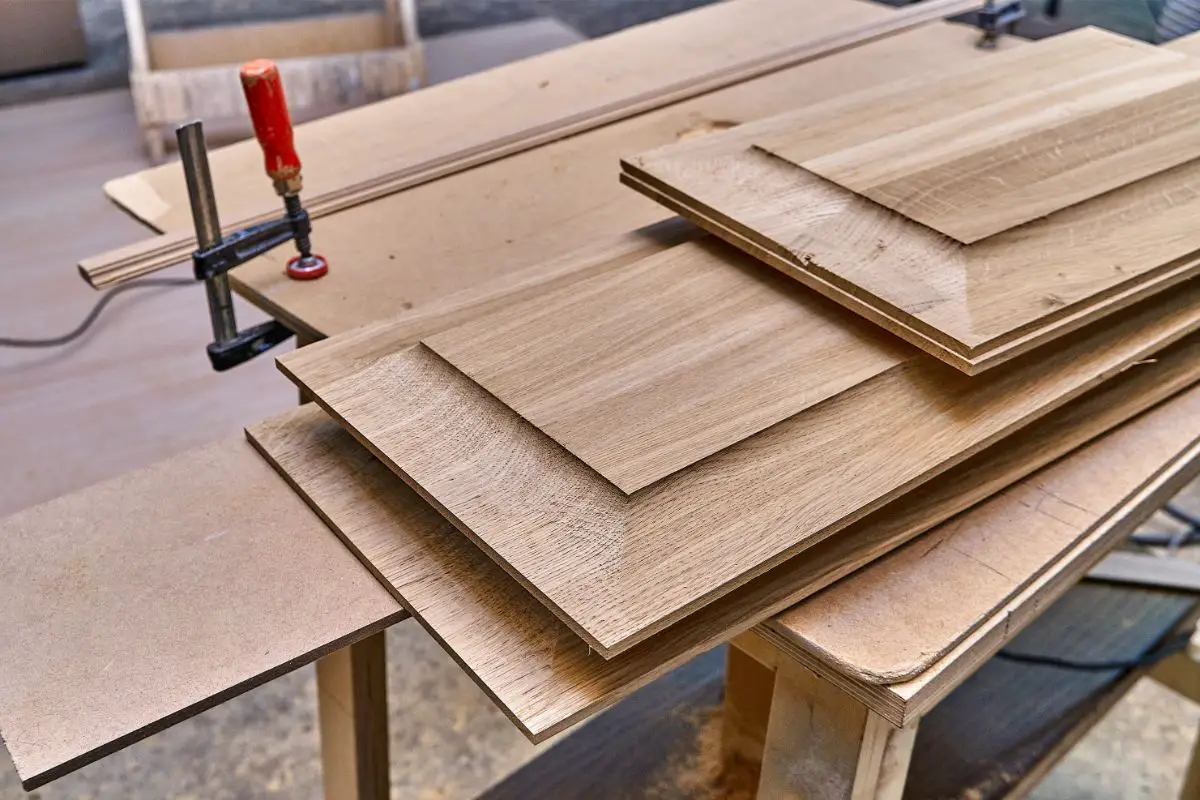
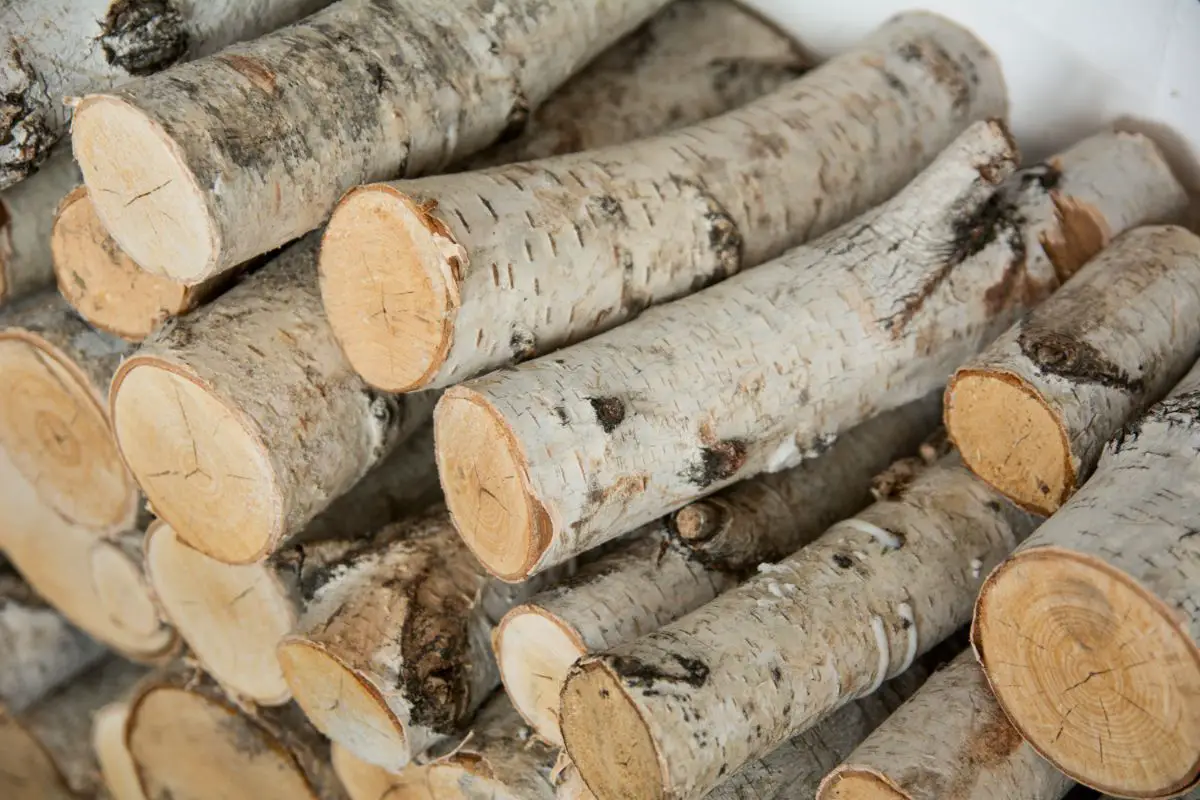
Despite being beautiful, wood is often exposed to rot, decay, cracks, divots, and holes – whether this was achieved by an accident or wear and tear.
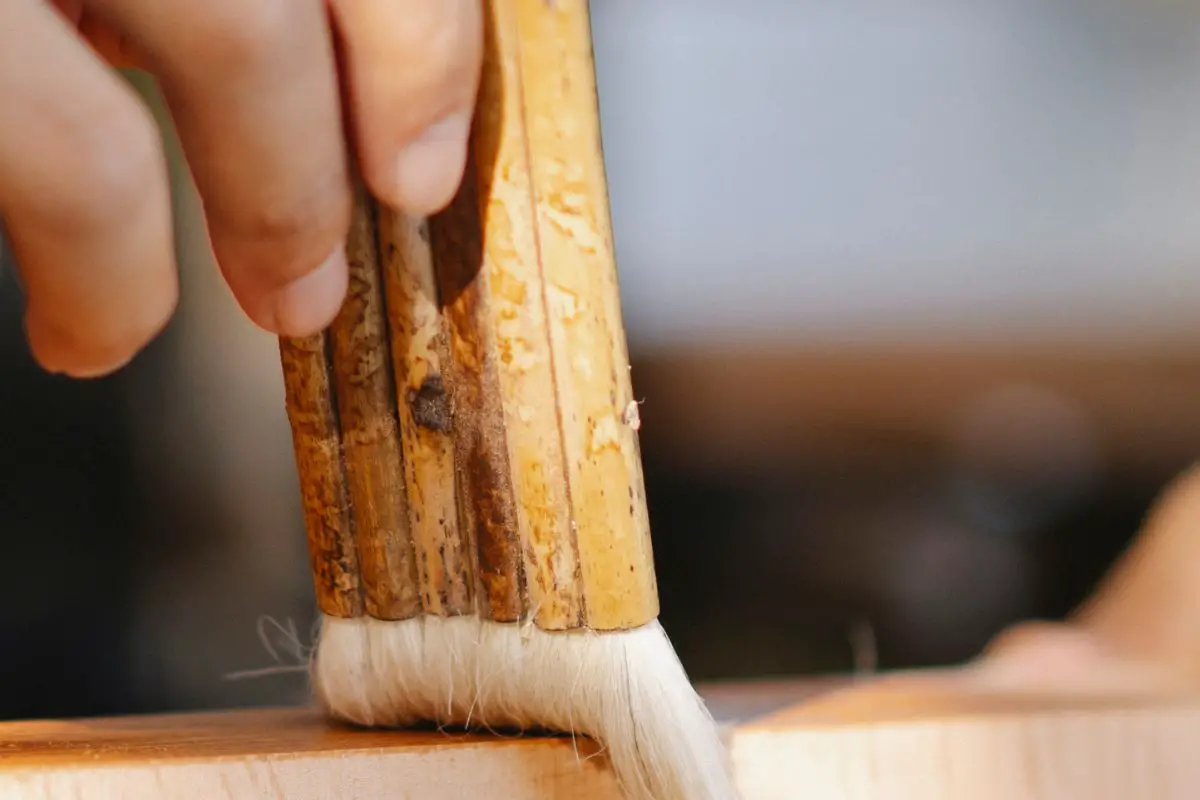
If you’re looking to expand the lifespan of your wood for as long as possible, then you’ll want to use wood filler at some point or another.
The best type of wood filler can be used to restore and fix furniture, shelves, flooring, windowsills, doors, beams, and much more!
Whether your wood is beginning to crack or you’re looking to fill up a hole created by a screw – then one super simple solution is wood filler.
With this in mind, we have created this comprehensive guide detailing everything you need to know about how to use wood filler for perfect results every time.
Let’s get started.
What Is Wood Filler?
As a natural substrate, wood is prone to wear and tear through cracks opening up on the surface. As a result, wood filler was developed by woodworking and decorating manufacturers to help combat this (see also “What Is Manufactured Wood?“).
Generally, these wood fillers are made up of either completely synthetic materials that mimic the appearance and texture of wood or the composition of wood by-products, this includes wood dust mixed with other types of binders.
More often than not, wood fillers are designed to be used with the same stains or paints that are used on wood – achieving a repair to the surface that is blemish free.
Below, we have outlined the most common instances where you may use wood filler. These include:
- To repair badly worn wooden flooring
- To repair nail holes
- To repair large gaps created by rotting wood, this includes window frames
- To repair chipped wooden furnishings, including banisters, tables, and skirting boards
When To Use Wood Filler?
You can use wood filler on practically any type of wood surface. This is one of the easiest ways you can restore and maintain any type of damaged wood.
That said, the type of wood filler you choose should depend on the project you’re about to undertake. For instance, for decks, you should use outdoor wood filler and wood filler for indoor surfaces, etc.
That said, depending on the circumstance, you may even need to replace the wood. This is especially the case when 50% or more of the wood is rotten.
Likewise, if you have already used the wood filler three times on the same piece or the wood is supporting a heavy load, then it may need replacing.
This goes the same if a large piece of wood has been taken out. You can use wood filler for instances such as cracks, decay, holes, and more.
This is ideal if you’re looking to avoid replacing expensive wood pieces for crafts projects. The best part? Wood filler is super easy to use.
If there is any internal damage to the wood, you can use a liquid wood filler to help repair it. Likewise, wood putty can mold into the wood to repair scratches, cracks, and holes.
How To Apply Wood Filler?
With a few simple tools, some common sense, and a little patience, you can easily fulfill all your wood filler requirements.

- Dry – Make sure the wood is completely dry before you do anything. If the wood is discolored as a result of moisture, then the filler will lock in this discoloration. Therefore, be patient and let it dry throughout.
- Putty Knife – You can use a putty knife to push the filler into a gap or hole. When doing so, make sure to apply slight pressure and use a knife to remove any excess. Then, take a rag to wipe away any residue.
- Staining – If you’re looking to stain your wood, make sure to use stainable filler. Here, you should avoid Epoxy wood fillers since they are not sustainable. Instead, opt for a plastic (latex) with any type of wood (shavings, sawdust) component.
- Keep patient – As you’re allowing the wood filler to dry, ensure lots of patience. Once done, sand the surface by hand to smooth out the area. Here, you may need to use a file or a rasp, especially for epoxy filler. Depending on the product you’re using, they will recommend a specific drying time, this is usually between 15 minutes to 24 hours.
You should keep in mind that the size of the gap or hole you’re trying to fill will affect how long it takes to dry. Therefore, patience is key.
A screw or nail hole that requires only a little amount of filler dries quicker and is ready for shorter in a shorter time as opposed to a larger hole – taking longer to cure and dry.
How Long Does Wood Filler Take To Dry?
Depending on the product you’re using, the drying time will vary from anything from eight hours to under an hour.
If you’re looking for a fast-drying option, you should opt for Osmo interior fillers which only take 30 minutes to dry.
Once done, use an oscillating power tool or sandpaper to sand the area then wipe with a wet cloth before you move on to any other steps.
Can You Stain Wood Filler?
You can easily color and stain wood filler.
To start with, choose a stain that closely matches your wood. You can test the stain on a spare piece of wood or on a small section of the filler. Wait for the stain to dry to see a match.
If it appears too dark, you can use water to thin out the stain.
Final Thoughts
Instead of completely purchasing a new piece of wood, you can simply opt for using wood filler to try and mend the hole/ crack yourself.
This is generally much more inexpensive and can take under a day, too. Hopefully, this guide has informed you on everything you need to know about using wood filler.
- What Kind of Room Has No Doors or Windows? - December 1, 2023
- What is a Powder Room? - December 1, 2023
- What Is a Kitchenette: Exploring the Features and Benefits of a Compact Kitchen - December 1, 2023


