Sanding drywall can be one of the most difficult and boring jobs you will encounter when you are renovating your home. It’s also one of the most important jobs as sanding a drywall effectively is of vital importance.
You need to have a clean and even base if your paint job is going to look good and it’s so easy to make mistakes when sanding drywall.
However, that doesn’t mean that sanding drywall well is impossible! If you take your time and are careful with the details, you can sand your drywall just as well as any expert would (see also “How To Cut Drywall“).
In this article, we will explain how to sand drywall. We will help you to avoid the most common mistakes and give you tips to ensure you get the smoothest walls possible.
Dry Sanding
There are two main methods you can use at home to sand drywall. Let’s begin by looking at the dry sanding technique.
This is the usual method for sanding drywall and it will give you a neat and even finish. However, be aware that dry sanding will create a storm of dust in your home.
If you’re not too concerned about the finish you may want to try wet sanding instead.
Step One – Preparation
If you do decide to go ahead with dry sanding, you need to prepare your space first. The dust produced by dry sanding will get into any nook and cranny that it can so you need to take steps to prevent this.
Protective gear for anyone in the room is essential. At a bare minimum, you should wear a mask and goggles, but we also recommend covering your hair and wearing old clothes. You may want to wear gloves as well to protect your hands as you work.
If there is a window in the room that opens to the outside, we recommend opening this a little to allow for extra ventilation. Cover any furniture in the room and you should also completely cover the floor.
Finally, cover the doorway with plastic sheeting to prevent the dust from getting into other rooms of the house.
Step Two – Sanding
The best tool for sanding drywall is a drywall sander. You will need some fine-grit sandpaper and we recommend 150-grit drywall sandpaper for this task.
Attach the sandpaper to your sanding block and ensure that it is secure. Make sure that the sandpaper is taut before you tighten the clamps on the block.
If you need to, attach the sanding block to a sanding pole. This will make reaching the higher parts of your wall much easier.
If you do opt to use a sanding pole, make sure that you keep the sanding head angled and that it is never completely perpendicular to the pole.
If it is perpendicular, this can cause the surface of your wall to become gouged.
Step Three – Details
Focus on the seams, joints, and screws in your drywall. You should sand these areas lightly and carefully.
Don’t apply too much pressure as this can lead to your wall becoming fuzzy or having sanding marks. The seams and joints should only be seamed enough to remove the ridges and bumps in the drywall.
You should also avoid sanding in a straight line or the same direction. Your sanding motion should be curved and gentle to avoid any sanding depressions, grooves, or marks.
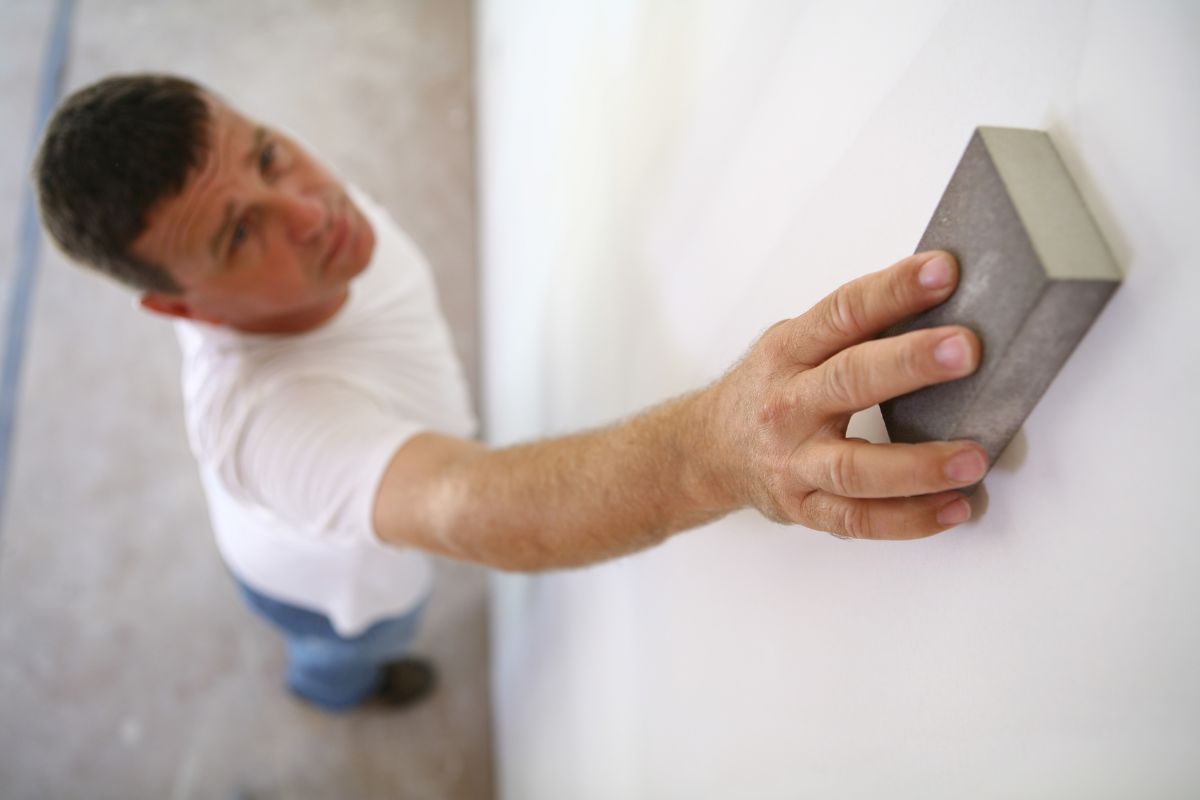
For finer details and corners, you can use a sanding sponge.
Step Four – Use A Light
Seeing gouges and grooves with the naked eye can be a little tricky at times. We recommend using a light and shining it on your wall to highlight any ridges in your drywall.
Once you’ve identified these little errors, you can fill them with some fresh joint compound. Simply apply small amounts and smooth it over with a putty knife.
Allow the compound to completely dry before you sand it once more.
Step Five – Primer
Prime your drywall. Once it is primed, sand it once more to remove any fuzz or lumps,
Step Six – Cleaning
Now that your drywall has been sanded, there will be a lot of dust in the room. The easiest and quickest way to remove this is to use either a vacuum cleaner or a shop vac.
Wet Sanding
If you want to avoid the mess and don’t mind if the finish isn’t quite perfect, then wet sanding is an option. We don’t recommend this for walls that are going to be painted, but it is suitable for walls that will be wallpapered or textured.
First, you should prepare your space in the same manner as we listed for dry sanding.
Fill a bucket with warm water and dunk your sanding sponge. You want your sponge to be damp but not dripping so squeeze out any excess water.
Use the abrasive side of the sponge on the wall to dampen it. You should move the sponge in a large circular motion. Work it lightly to avoid gouges and grooves.
You will need to constantly dampen the sponge. Remember to squeeze out the excess each time. You will also find that some of the dust will collect in your bucket so you need to replace the water whenever it becomes too cloudy and dusty.
As we did with the dry sanding technique, use a light to check for grooves and patch them where necessary.
Final Thoughts
In this article, we listed two different methods for sanding drywall at home. The first method of dry sanding will ensure a smoother finish but will also cause a lot of dust to be produced.
The wet sanding method will eliminate the dust but won’t give you a smooth wall.
If you’re going to paint the drywall, we recommend using the dry sanding method. If you’re going to use wallpaper or will add texture to your wall, the wet sanding method will be sufficient.
Hey! My name is Luke. I am the Co-founder of PowellCustomHomes.com, it’s great to have you here at our site. With a combined 20 years of experience, we can help you build the home that you want, specific to your requirements and lifestyle.
No task is too small. We can guide you and offer advice, no matter if you are filling in gaps in the wall, hiding cords, or simply fixing up construction mistakes. We love to help, and strive to do so in any way that we can.